Installing Angular IDE on Ubuntu
Angular IDE is one of the best IDEs for angular out there. It offers a lot of features for novice and advanced angular developers alike.
Features
- Angular Control Panel to quickly access key Angular functionality directly from the source code editor.
- Advanced editing support for TypeScript 3.x, real time validation, auto-completion, syntax-aware source coloring, block and full-file formatting.
- Auto-complete for HTML elements, validation inside custom Angular attributes, auto-complete for TypeScript expressions in templates
- Seamless launching of ng serve from the IDE and generate services and components from wizards
- Angular Source Navigation
- Integrated support for debugging via an external Google Chrome browser
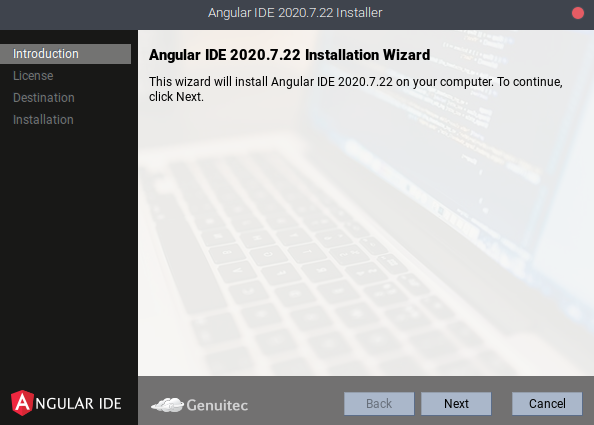
Installation
To get started, first we must download the installer for linux in this link.
Next we will need to run the file. We can do the following:
chmod +x angular-ide-installer.run
./angular-ide-installer.run
Debugging
Still not working? After installing the ide, it may not work right out of the box. If you ever encounter this error:
A Java Runtime Environment (JRE) or Java Development Kit (JDK)
must be available in order to run Angularide. No Java virtual
machine was found after searching the following locations:
/home/username/angular-ide/jre/bin/java java in your current PATH.
It is very easy to solve. Simply go the folder where the angular-ide is installed and look for angularide.ini. Right before -vmargs, paste the following:
-vm
/path/to/java

Comments
Post a Comment